Being immersed in the fitness industry provides me with a ton of different opportunities to experience different techniques, methodologies, and products. I recently had the privilege of a...
Yamuna Body Rolling – Better than Foam Rolling?
read more
Being immersed in the fitness industry provides me with a ton of different opportunities to experience different techniques, methodologies, and products. I recently had the privilege of a...
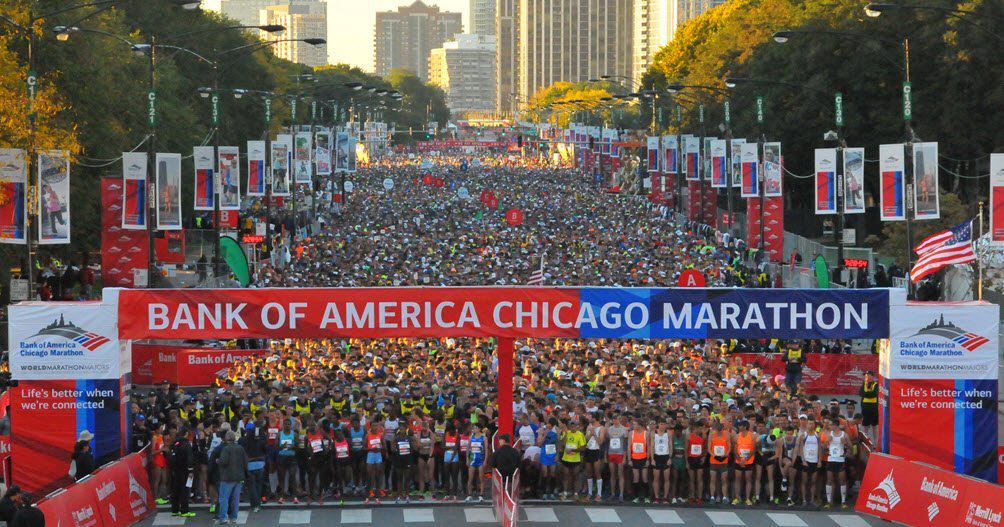
Leading up to the Chicago Marathon 2016 The Chicago Marathon provides an excellent course, plenty of support and, for me, a chance to visit home for a few days. It was no different for me this...
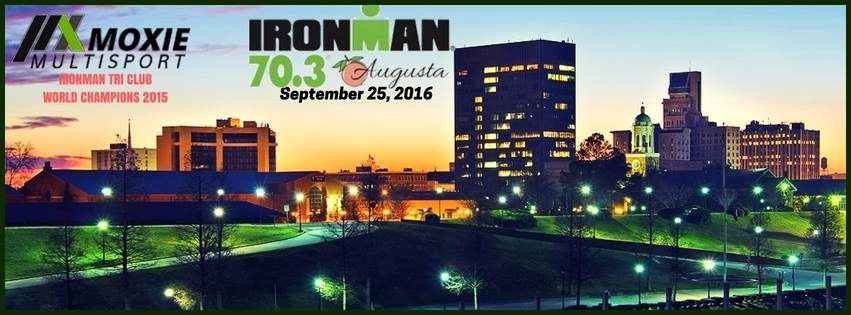
September 25 was going to be my day. The Ironman Augusta 70.3 triathlon was finally here. The race I had been training so hard for on one of my favorite courses. It was four-and-a-half months...
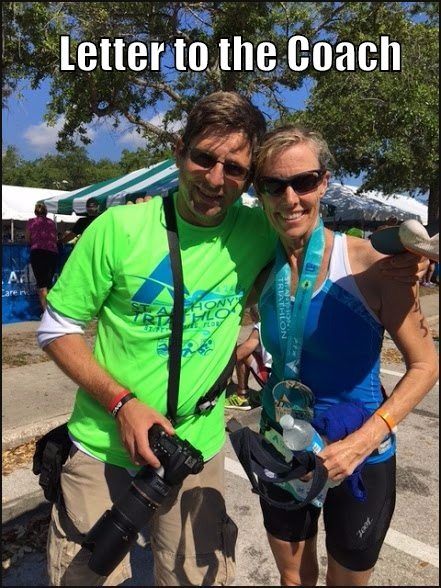
I have been an endurance coach for some time now. Once in a while, I receive an email from a client which chokes me up with pride. Today, I received one of those letters, so instead of sharing it...
I found when looking for ways to get faster on the bike, is that there is so much information, from different coaches and experts, that it can be confusing and overwhelming. Personally, I...
The previous post was a review of the FD3 Triathlon Series as if it was a product. Below you will find a more detailed account of my personal experiences during the race. Let me know in the...
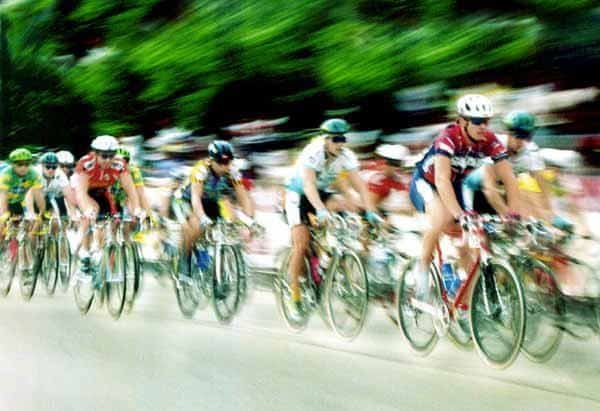
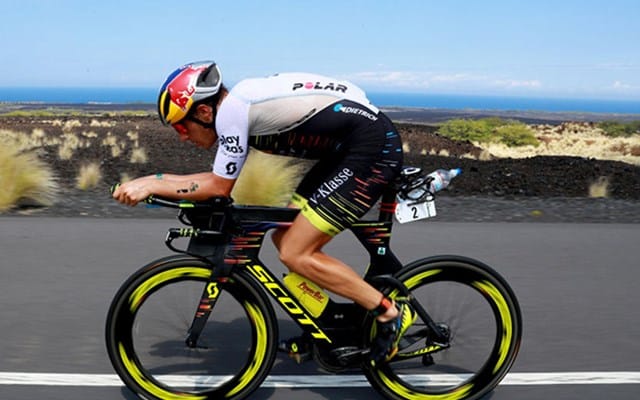
One of the scariest things for a beginning triathlete, besides getting in the open water, is cycling. The first image that wandered into my head upon deciding to start seriously bicycling was of a that scary peloton. Those tight formations of bikes moving at ridiculous speeds, during the Tour de France, so close together that one wrong move could cause serious damage to my body or someone else. Scary right? Luckily, triathlon doesn’t allow for huge groups like that, as a matter of fact it isn’t even allowed. Whew!
Buying my first Bike
I didn’t have a lot of money when I first started in triathlon, and I also didn’t really know if I was going to like it. I spent a lot of time in bike stores drooling over the expensive bikes, while studying cheaper entry level bikes. Every bike store had a different angle they played. One would say, purchase the more expensive bike, gain more speed so when I improved I didn’t have to buy another bike. Another would tell me to buy the entry level but load it up with expensive components so I could ride faster, and when I wanted another bike, the components alone would warrant a good price, and of course that store would buy it back from me and give me a discount an another bike. Decisions, decisions what to do, what to do?
I researched different road and tri bikes online and in magazines, and while I was pretty sure I would enjoy triathlon, I decided on an entry level Canondale CAAD 9 road bike. I also included in my purchase, a pair of pedals, cleats, shoes and a helmet. The helmet was very important especially since I hadn’t actually rode a bike in over 10 years. Would I really not forget how to ride a bike? The answer to that my friends is YES. It is not a skill that is forgotten. It maybe a little unsteady the first couple of times, but not forgotten. Luckily I will have my trusty helmet, just in case.
I also read something that resonated with me. The most important thing that is needed after the purchase of a bike, is the fitting. At first I thought, “what? Don’t I just have to find the most comfortable height of the seat and then get going?” I had no idea that there are so many different adjustments on a bike, to a point that bike “fitters” actually have to be certified in order to properly fit you. They have to take courses, pass tests and be mentored. “Really?”, you ask? Yes…really.
The fitting took about an hour where they put my bike on a trainer, and with my shoes and bike shorts I pedaled, then the fitter took measurements and made adjustments to my seat post raising it and lowering it to a perfect dimension. Then he took angle measurements from the ground to my hip, knee and shoulder and from the pedal and a bunch of other places. He moved my saddle not only up and down by forward and back. He then took my handle bars and put different size spacers on the tube underneath my handlebars to find the perfect height and then was able to move them back and forth to find the right angle, height and most comfortable spot for me. I had no clue there was this much to it.
Pre-First Ride
As I left the store after my fitting, Jo-el, the general manager and friend from my track club, gave me some good advice. I had never rode in cleats and pedals before, where my feet were clipped into the pedals where they wouldn’t just simply lift up. I had to turn my heel so the cleat would unclip from the pedals so I could put my foot down. Jo-el said to take my bike in the house and put it between a doorway, and practice clipping and un-clipping from the pedals. Also, I needed to find the most comfortable side to unclip first and then stick to that side no matter what. I followed that advice in detail. I clipped, unclipped, clipped and unclipped till I was sure I had mastered it. Then I took a little ride around the block and practiced even more till I was confident I mastered at least that part.
I had a feeling of euphoria that first little trip in my neighborhood. I felt fast, free traveling under my own power on this brand new, tuned Cannondale bike. I was really excited for my first ride the next day in the hills of San Antonio.
The First Ride
I drove to San Antonio…Florida that is, with my brand new bike in the back, my new bike shorts on, bottles ready to put in their cages on the bike, coffee in my cup holder and classic rock playing on the radio. I remember having mixed feelings about this initial ride. I had never ridden in a group before, I had never ridden with these cleats and clips before, but I knew I was in good shape but was I fit enough? After that I just thought to myself, “if you cannot go as far then just turn around and head back. no big deal.”.
I met a friend at these ball fields and was mesmerized by the amount of bikers getting ready to take their morning ride. The sea of colors from the different bikes and jerseys was extremely overwhelming. That anxious feeling came back for a second until my friend mentioned we were riding with triathletes not pure cyclists. They would understand I was on my first ride and would help me out. After preparing for my first journey, we found our formation and began the trek.
I was surprised that I was staying in the middle of the pack and with minimal effort. The wind was in my face, I was pedaling under my own power and keeping up! It was an incredibly euphoric feeling. Unfortunately, when we hit the first long hill, euphoria turned to anxiety and then… embarrassment.
My pedaling slowed, and it became extremely hard to mash down on the pedals. With very minimal spinning of my legs I tried to switch to higher gear, but I actually ended up in a lower gear which made it even harder. When I did finally gear up, it was too late. I couldn’t move the pedals fast enough to switch gears, and my chain fell off , so I was at a dead stop. Of course I was so concerned about the gears I didn’t unclip out of my pedals, and I went down on my side. The only thing that really hurt was my ego as I stood my bike up and examined the chain. The group was passing me all asking if I was ok, and taking for granted that I was telling them I was fine and to keep going. By the time I had my chain back on the group was completely out of site. I pedaled like a bat out of hell hoping to catch up, but I missed a turn and ended up 10 miles out of my way, and lost.
To make a long story short ( I know, too late) one of the faster members of the group realized I was gone, backtracked, and finally found me asking directions at a convenience store. He led me back to the group and I finished the ride without any other issues, but I learned a lot of lessons that day.
Hints to get started in cycling straight from the Goof:
On my first bike after a couple of modifications
1. Buy an entry level road bike. This is usually an aluminum alloy frame. You don’t want a Wal-mart special, but you don’t need to start with the top of the line bike either.
2. Purchase a set of entry level pedals, cleats and shoes. The pedals usually come with the cleats and the bike shop will install them for you.
3. Purchase safety equipment. Biking shorts, and a helmet to start. I would also have a set of sunglasses as well. Not just to keep the sun out of your eyes, but it helps with the wind too. Make sure you also have at least one water bottle with a cage installed on your bike.
4. Get the bike fit for you. Have a certified bike fitter make those adjustments specifically for you.
5. Practice getting in and out of your cleats . Put your bike in a doorway, hold onto the frame and get in and get out of your cleats. Find the most comfortable side of the bike and then practice getting out of the cleats and putting your foot on the ground.
6. Take a short ride around your neighborhood and continue to practice getting in and out of your cleats. When seeing a stop or even a potential stop ahead practice just moving your heel just to the point where you unclip before stopping so you have a quick option that you can pull out of your clip to stop or return your heel to clip back in to keep going. Remember to always clip out and stand with the same foot first every time.
7. Understand your gears. While in that first ride, switch the gears on your right hand and find what lever takes you to a higher or easier gear, and which one brings you to a lower or harder gear.
8. Take your first long ride with friends and have some fun.
One last thing, you are going to fall. That is just the reality of it. You will get stuck in your cleats at some point and you will fall over, but it will be minimal. The trick is to accept it, get up brush yourself off, laugh at yourself, get back on your bike and have fun. It’s worth it I promise.
In my recent post, Effortless Swimming-Goof Out#1, I gave a summary of the introductory lesson in Effortless Swimming’s Mastering Freestyle Course. This course is located within the Swimprove program hosted by Brenton Ford and his Australian company Effortless Swimming. I continued with that lesson for a week which was dedicated to balance and streamlining within the water, and I recently continued with lessons 1 & 2.
Lesson 1 was specifically geared to the feel of rotating from your hips. I did this workout 3 times and I want to nickname it the Core Killer. I never thought working out in the pool with so little movement would cause such a tightness in my abs and core, but nevertheless, my abs, obliques, quads and hammies where a little tight the next day. It consisted of 1800 meters of drills, plus a warm-up and cool down making it 2400 meters total.
The Workout
WU: 300m any stroke
MS: 300m Kick on side w/ shoulder to chin
300m Kick on side w/ hand-to-face
300m Kick on side w/ switch
300m Kick on side w/ arms at side
300m Kick on side w/ arms across chest
300m Kick on side w/ blockhead arms
CD:300m Easy Free
I do not have a strong kick, so I continued to use my Zoomer fins to reduce my worry of propulsion since I knew that was not the focus of the workout. Lucky for me, Brenton actually suggests the use of fins in both the written material and the videos that accompany this course.
Throughout the workout, I noticed that when it was more difficult to rotate from my hips, I was not streamlined, however when I engaged just my core, and lengthened myself, rotating the hips became a lot smoother and I did move faster to the other end of the pool. I also learned more about breathing, because when you have one shoulder out of the water and you are look at the bottom of the pool, once in a while it is nice to turn your head and breathe. The breath is quick, so I started to breathe out during the drill and breathe in when I rotated. This was never natural for me and I know it caused a lot of anxiety for me. It still isn’t natural, but it makes a lot more sense. Once I finish the lessons, I will be able to develop a relaxing pattern with this new revelation.
Lesson 2 added the arms. I kept the fins with these drills, but because there were only three drills, I dropped them afterwards and swam one thousand meters without them. I was still slow, but I noticed it was quite a bit easier. I also developed a patter of breathing for myself, which I still am not consistent with but, when my position is streamlined and I am keeping a high elbow, it is a lot easier with the new breathing patter. It makes for an interesting alert. If I begin to feel like my breathing pattern is off, most likely it is because my swimming technique as fallen apart.
The Workout
WU: 300m any stroke
MS: 300m Shark Fin Drill with pause & return
300m Shark Fin Drill with practice entry
300m Shark Fin Drill with switch
10×100 Free Form Focus
CD: 300m Easy Free
This weekend will be the test. My first triathlon of the season is Sunday at the HITS Ocala Olympic Triathlon. I still have one more module of the Mastering Freestyle Course, but that will have to wait for next week. I am going to use my last workout this week to continue with the lesson 2 drills. We will see what happens. I am really excited
You can checkout the Swimprove program at www.swimprove.com
![]()

The title of the post is lending itself to a race report but I am going to step back a bit. Wednesday morning around 6 am my phone started to vibrate. Unfortunately, I missed it because I was in the pool, but after I finished my hygiene regimen, I grabbed my phone out of the locker and noticed it. I knew whom it was from and what it said before I even looked at.
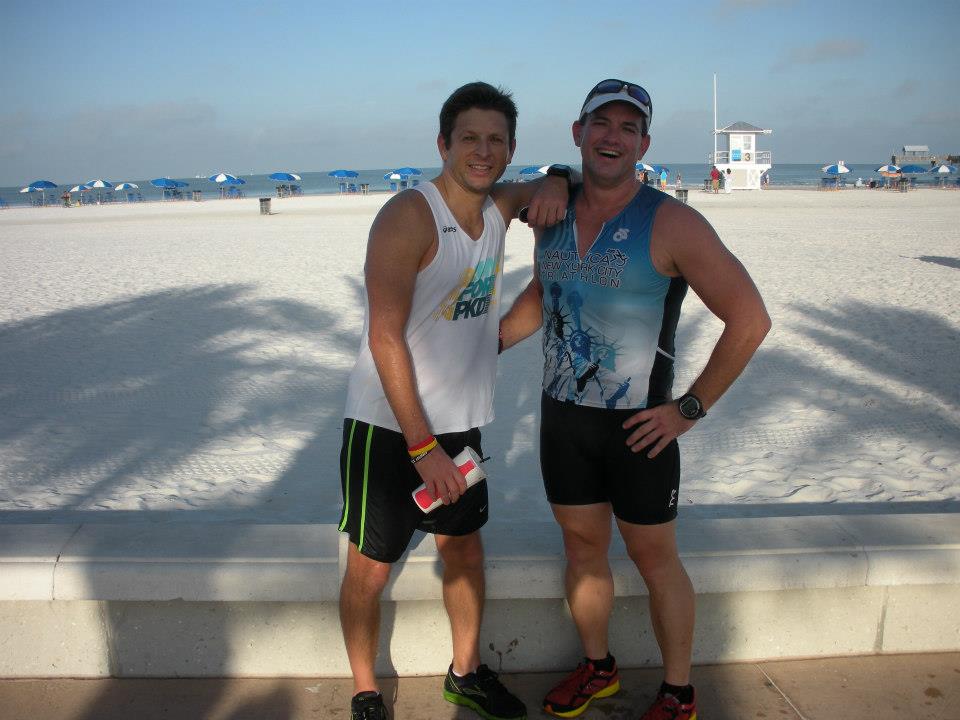
Pete and the Goof
Recently, Pete’s Mom, Noemi, has been dealing with a lot of complications from the brain tumor they operated on 23 years ago. Over the last few months she has been in-between hospitals and rehab centers with pneumonia and other lung related issues, and finally last week she was taken to hospice in Dade City. I made it a point to check-in on Pete, as often as possible and make a couple of trips to hang with him at the hospital or wherever just to give him and his family a sense of normalcy and support. Wednesday morning, around 5:12 am her suffering finally ended.
Pete is a red-blooded American male in every sense of the word. His does not show his emotions to just anyone, and even in his toughest times, he continues to care about other people. The interesting thing is his family is pretty much the same way. His Dad made it a point of finding me when I visited the Hospice Tuesday night to thank me. Even though I knew this man was in a lot of torment, he smiled and kissed me on the cheek. Pete’s Sisters are the same way. Not a tear, not a drop of contentment, just gratitude. This is what made this decision so hard.
The Best Damn Race was scheduled for Saturday, but the funeral for Noemi was on Friday and the viewing on Thursday. I promised to help set up for the race, but something like this was not in the cards when that promise was accepted. I really wanted to be there for my friend and his family, but I had no intention of disappointing Nick either. Thursday morning, I made the phone call everyone I know dreads; disappointing a friend. I called Pete and asked him how much of an ass he thought I would be if I missed the funeral. I would be at the viewing, but I thought I would be of more use at the setup. Without missing a breath, Pete told me to go set up the race and that if he had a choice, he would switch with me. The advantage of being in this lifestyle allows for all of us to understand what it means to both train and staff a race. The truth is; I would have said the exact same thing.

Nick and his Dad
Friday morning I drove up to the Safety Harbor Marina and saw an open field with a few tents being set up, a huge Budweiser Truck and a few guys marking the areas for different structures. The day was filled with moving boxes, putting up tents and tables, running errands and just making sure Nick and the teams were supported.
Very quickly, the expo ramped up and was in full swing by noon. It was amazing, to watch. Not that I hadn’t seen it before, but I was never as close to it. This was an idea hatched a little less than a year ago and here it was. The finish chute went up, and the “Best Damn Race” Logo was everywhere and that is when it finally hit me. This was real. Nick had really made this happen. Toward the end of the day, there were over 3000 runners registered, which is completely unheard of for an inaugural race. Nick, the vendors, the interns, the volunteers, and race staff were all in fast forward mode trying to get everything accomplished on time which to watch was nothing short of amazing. It was like a well-oiled machine. When Lisa, Ben, Ray and I finally decided to end the day and get some dinner, I was completely exhausted but exhilarated at what the next day was going to bring us.
Nick and Beth holding the tape for the first finisher
I was so excited I ended with very little sleep that night, but I still had no problem getting up, showering, throwing on my running gear and getting out the door. I had a few tasks Nick gave me to take care of before I headed over to the registration tent thinking that I would check with the volunteer coordinator to see if there was anything else before I started warming up for the half-marathon. It turned out we were a few volunteers short, so I ended up going to finish line to help out after receiving a distress call from Beth. This is why I was there. Sure, I signed up for the Half-Marathon, but my first priority was to Nick and the race. I ended up spending the whole day, handing out medals, and supporting the runners, so as much as I wanted to run, I had an amazing day.
I watched and hung medals over the necks of a ton of my friends as they cross the finish line, I had the opportunity to hold the tape for a few of the elites, I handed out and hung over a thousand medals, and just felt privileged and honored to be a part of it.
Were there a few hiccups in the operation of the race? Of course, but Nick, and the race director Phil LeHaye resolved all of the issues seamlessly. A year ago, I have to admit, I had my doubts. I knew it could be done, but taking on this huge of a challenge and making it look as professional as it did, exceeded my expectations. I am so proud of my friend Nick Zivolich. What he was able to accomplish and all of the obstacles he overcame is nothing but inspiring.

Nick and his Best Damn Girlfriend and Best Damn Friends

Nick’s Best Damn Crew
Nick and the Best Damn Goof
I have a lot of friends that are competing in the Florida Ironman this weekend. This is the granddaddy of endurance competitions right in the heart of the panhandle Florida at Panama City Beach.
I want to wish you all the best of luck and I know you will all be an Ironman at the end. Of course, a couple of them already are, but that doesn’t change the challenge any.
As I did this last year I want to give you the lessons I learned while taking on this challenge. Take them or leave them, but hopefully, you will take something out of it and if not another reader might find a helpful hint to take on their journey to the Ironman Triathlon in their future.
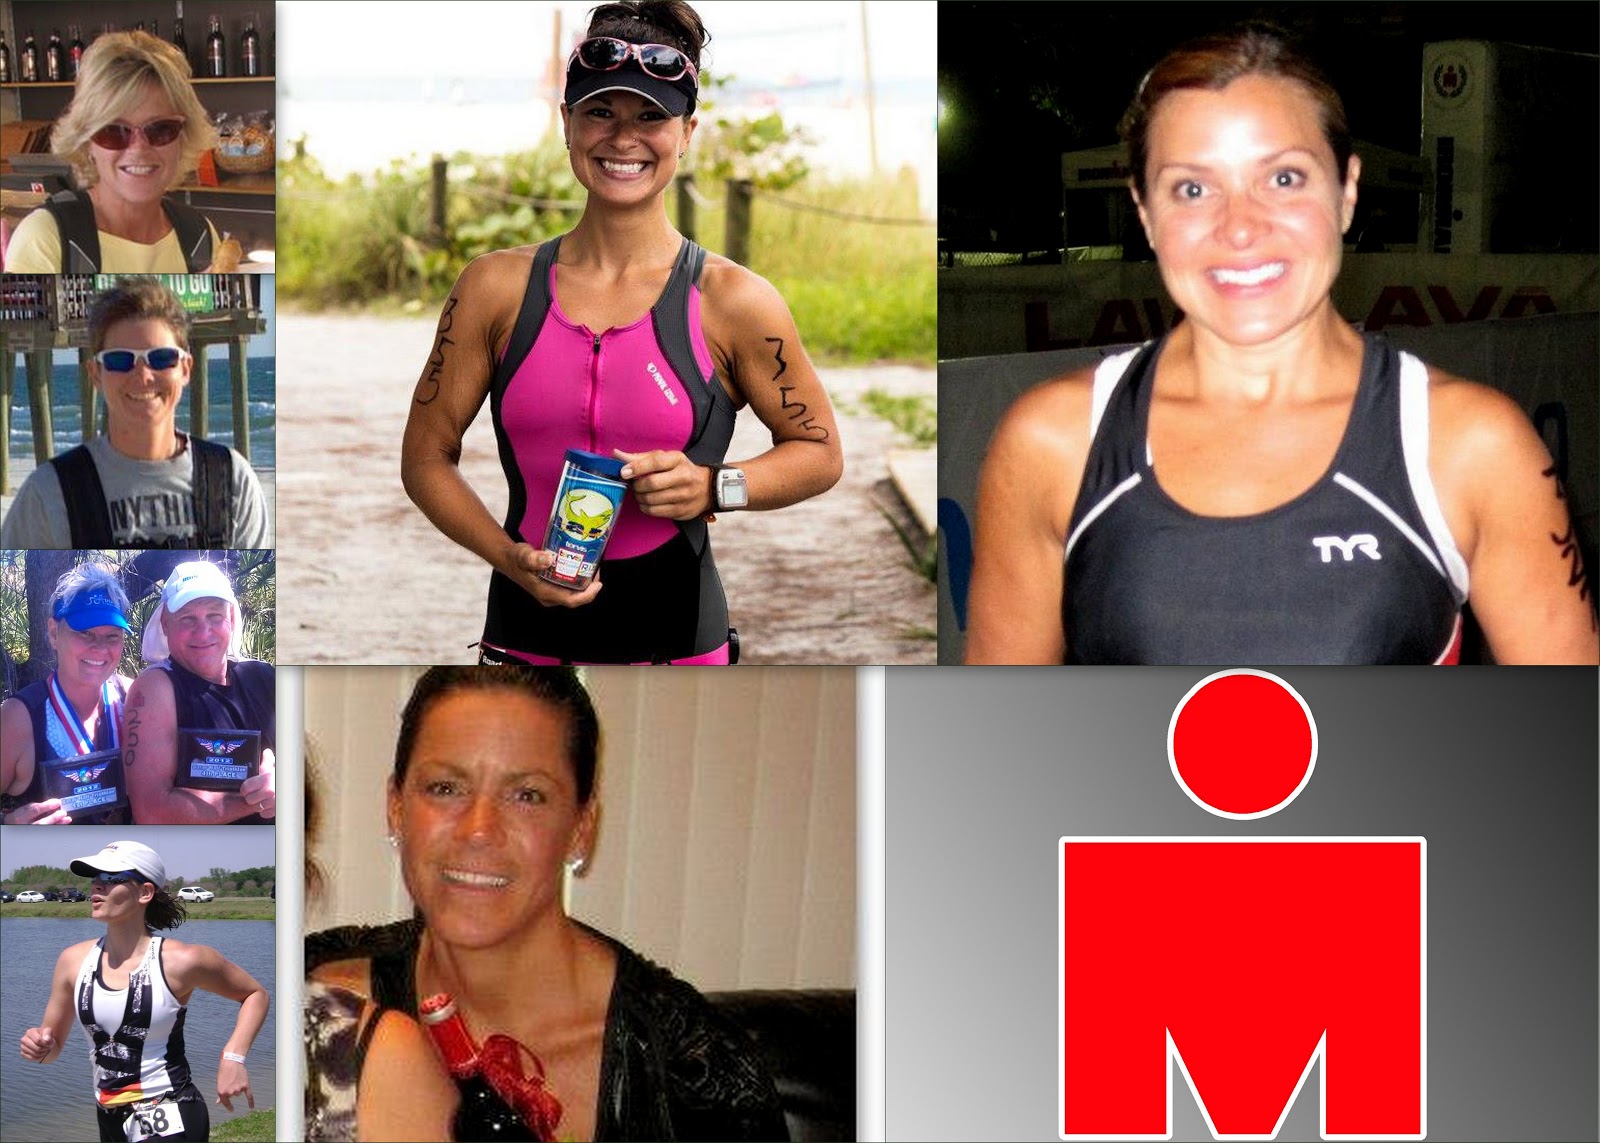 |
| Left to right: Eve, Kat, Marai, Summer, Mary-Ellen & Iron Rick, Anne, Carola (Not pictured: Rick Jansik and David Nardoski) |
I am so proud of all of you. I am so lucky to be able to call you my friends and I know you will all be amazing. I will be there volunteering and I really hope I get to see everyone.
Kick some booty. Ironmen and women.